
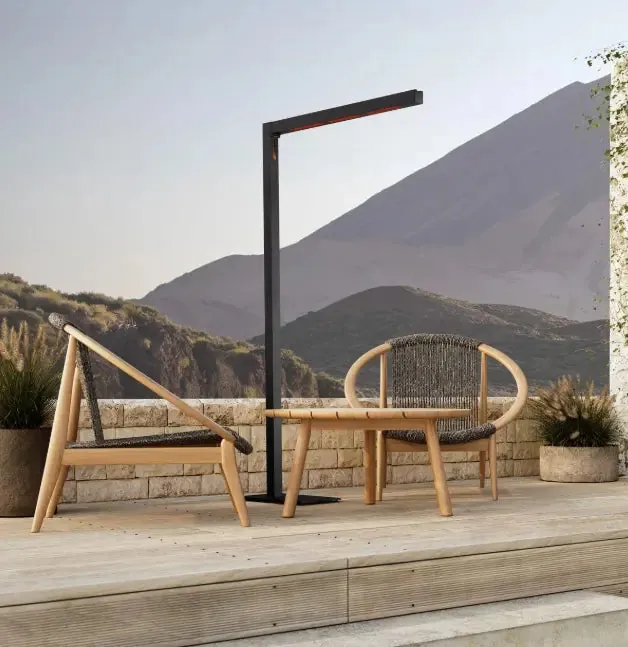
A patio heater earns its place when it makes a favorite table, sofa, or pair of chairs inviting after the temperature drops. It does not need to turn the entire backyard into an indoor room. It needs to deliver comfort where people actually linger, without cluttering the view, blocking a route, or making the furniture arrangement feel like an afterthought.
That is why placement matters as much as the heater itself. The right spot is shaped by the gathering area, the overhead condition, wind, circulation, and the specific appliance you choose. A freestanding heater, a wall-mounted radiant heater, and an overhead system each solve a different problem. Start with the life you want from the patio, then use the manufacturer instructions for the exact model to confirm what the space can safely support.
1. Start with the seats, not the heater
Mark the places people use after sunset. It may be the end of a dining table where dinner stretches into another glass of wine, two lounge chairs that face the garden, or the deep corner of a covered porch that catches a coastal breeze. Those seats are the center of the plan. The heater is there to support them.
Work from the furniture outward. Sit in each chair, then notice where a heater could stand or hang without taking away a useful surface, a sightline, or a clear way through. The best location often feels a little off to the side rather than planted in the middle of the conversation. It warms the group while letting the room continue to look like a room.
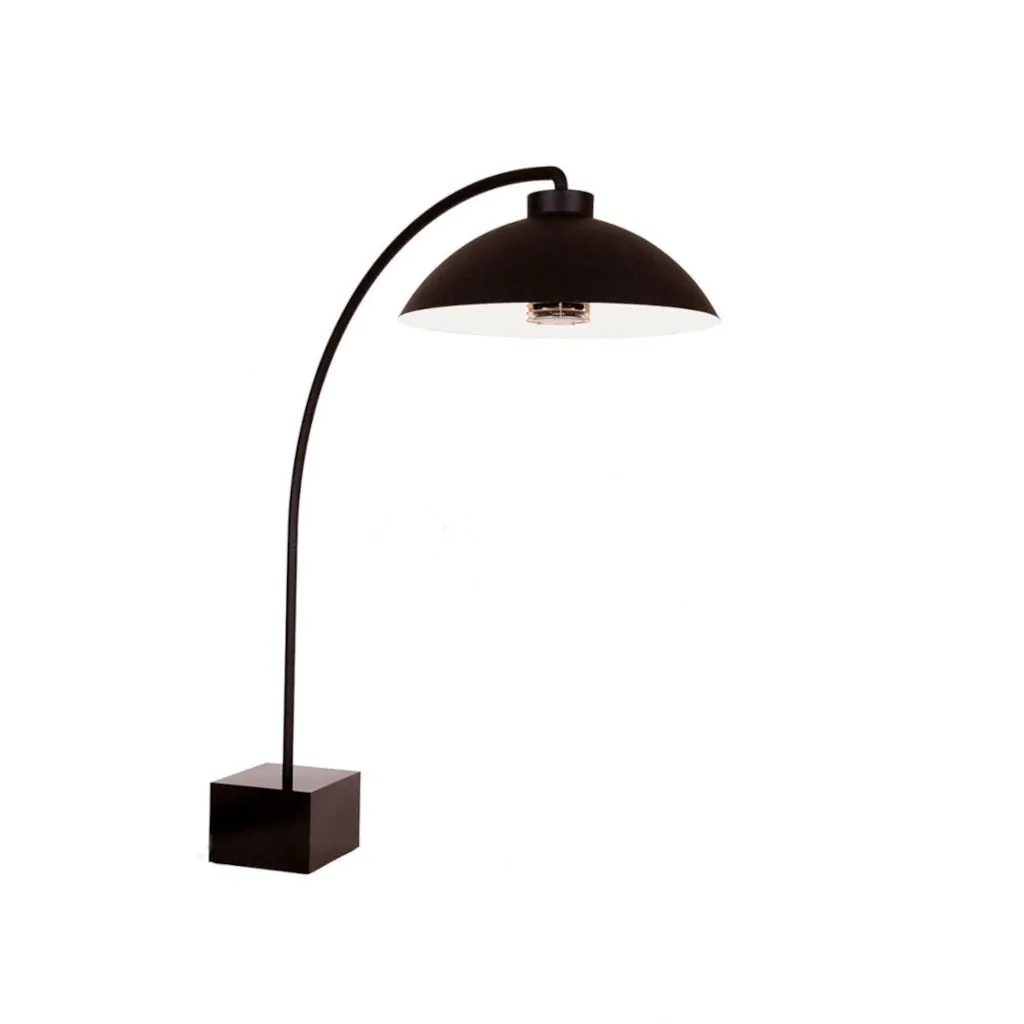
A practical test helps. Set out the furniture first, then use a lamp, tall plant, or empty box to stand in for the heater. Walk from the house to the table, pull out every chair, and imagine serving a tray. If the stand-in is in the way before the heater is even there, it is not the right place.
2. Match the heater to the patio’s shape
Patios are rarely one large, even rectangle. A narrow terrace, a round fire-pit area, a deep dining porch, and an open pool deck all ask for different kinds of heat. Choosing the form first makes placement less of a puzzle.
- Freestanding heat: Useful when the furniture moves, the patio is open, or you want to test a comfort zone before making a permanent change.
- Overhead heat: A good fit when the ceiling, pergola, or structure is suited to the unit and the patio needs the floor kept clear.
- Wall-mounted heat: Helpful on a narrow porch or against a solid edge where a freestanding piece would interrupt circulation.
- Integrated comfort: Worth considering when the same outdoor room also needs light, shade, or cooling, rather than a collection of separate fixtures.
A freestanding piece can make a flexible lounge more comfortable, while an overhead design can keep a dining table visually calm. The point is not to pick the most powerful-looking option. It is to choose a format that fits the way the patio already works.
3. Keep circulation clear
An outdoor room needs a route just as much as an indoor one. Leave a natural path from the door to the table, seating, grill, garden, and gate. Do not put the heater where someone will have to squeeze past it while carrying plates, or where a pulled-out chair suddenly turns it into an obstacle.
This is especially important around the edge of a dining table. The chairs need room to slide back, guests need room to get up, and the host needs a clear place to move. A heater pushed too close to the table may look efficient on a plan, but it can make the whole evening feel fussy. Set it where it reaches the group without occupying their lane.
Also consider the routes you use when the patio is less formal. A child heading inside, someone checking the grill, or a guest arriving after dark should not need to navigate around a hot focal point. Good placement becomes almost invisible because everyone can move naturally through the space.
4. Let the manual set the non-negotiables
Every outdoor heater has its own installation requirements. Those instructions, not a generic rule of thumb, determine where it can go. They cover the required space around the heater, what can sit above it, whether it can be used under a cover, the type of surface or mounting it needs, and how the unit should be serviced.
Use outdoor gas heaters outdoors, keep them away from combustible materials, and follow the manufacturer’s directions. The manual for the exact model always has the final word on clearances and installation.
This matters even more under a covered patio. A roof, pergola, awning, umbrella, curtain, or low branch changes the situation. Some units are made for structured overhead settings, while others are not. Never assume that “outdoors” automatically means any outdoor spot will do. Read the instructions before ordering, then give the installer or electrician the real dimensions of the patio, not just a mood-board photo.
5. Work with the wind instead of fighting it
Heat is personal on an open patio. A breeze can move warmth away from a table quickly, while a tucked corner can feel comfortable with far less equipment. Spend time outside on the kind of evening you want to extend. Notice where the wind enters, where a wall or planting bed offers relief, and which seats become uncomfortable first.
Use the patio’s edges to your advantage. A low wall, garden border, screen, or existing structure can help make a smaller gathering area feel protected without sealing it off. If one end of a long terrace is naturally calmer, let that become the evening zone. You will get a better result by concentrating comfort there than by trying to overcome every exposed corner.
Wind also changes the relationship between a heater and the furniture. Aim for a location that supports the group from the side or above, based on the model, rather than asking one unit to reach across a broad, exposed distance. A more focused zone usually looks better and feels warmer.
6. Think through the ceiling and the view
Overhead conditions deserve a careful look before you commit. Measure the height, note beams and fans, and identify any fabric, planting, or architectural details that sit above the proposed heater. The exact model’s installation guidance will tell you what is possible. Do not make a ceiling work harder than it was designed to.
Then think visually. A patio heater should not become the first thing you see when you walk outside. Overhead solutions can preserve floor space and sightlines when the structure is appropriate. A freestanding piece can become a sculptural part of the room when it is placed at the edge of the seating area, rather than between people and the view.
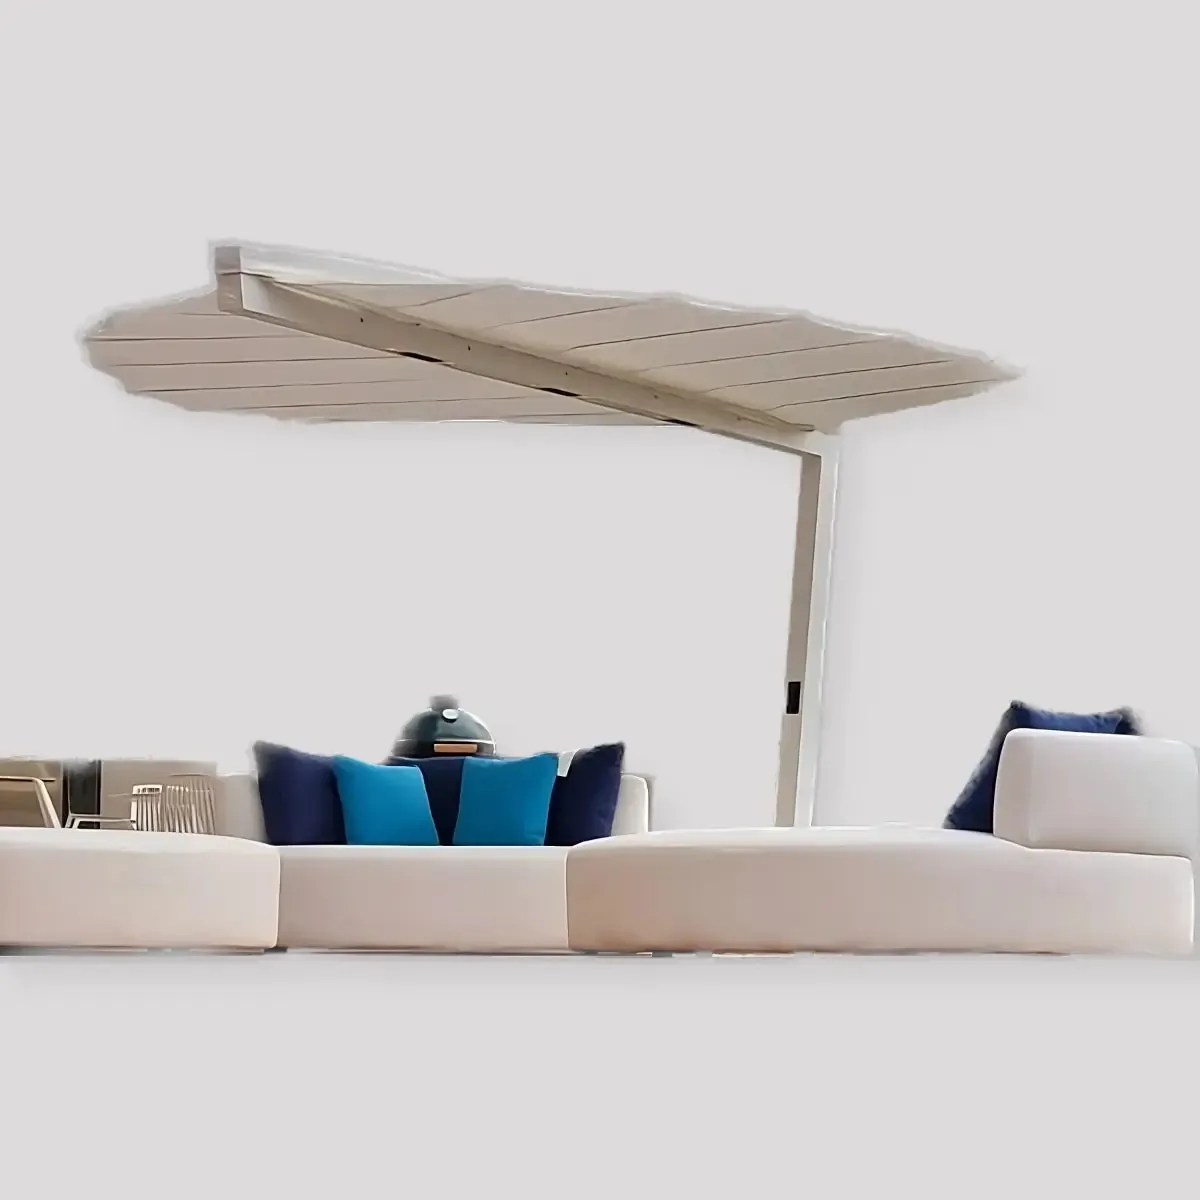
Home Crush’s Heatsail collection is particularly useful for outdoor rooms where the comfort layers need to be considered together. The official DISC product information shows how heat and dimmable light can be combined in a single terrace fixture. For larger outdoor rooms, LEAF brings shade, warmth, light, and misting into one overhead form.
Before choosing an overhead option, draw the patio as it is, including the table, seating, doors, beams, fans, and the view you want to preserve. That simple exercise makes it easier to see whether the heater belongs over the dining area, beside the lounge, or in a different zone altogether. It also gives a design professional or installer a useful starting point for a recommendation that fits the room instead of forcing the room to fit the fixture.
7. Create one comfortable zone before adding another
It is tempting to treat every unheated part of the patio as a problem. Resist that instinct. Start with the place where people naturally gather, make it genuinely comfortable, and use the rest of the outdoor space as a quieter edge. A patio feels more composed when it has a warm center and room to breathe.
For a dining area, the first zone may be the table and the route back to the house. For a lounge, it may be the sofa, two chairs, and a small table for drinks. For a larger yard, one conversation group near a fire feature can be the answer, while the far garden remains a place to look toward rather than occupy on every cool evening.
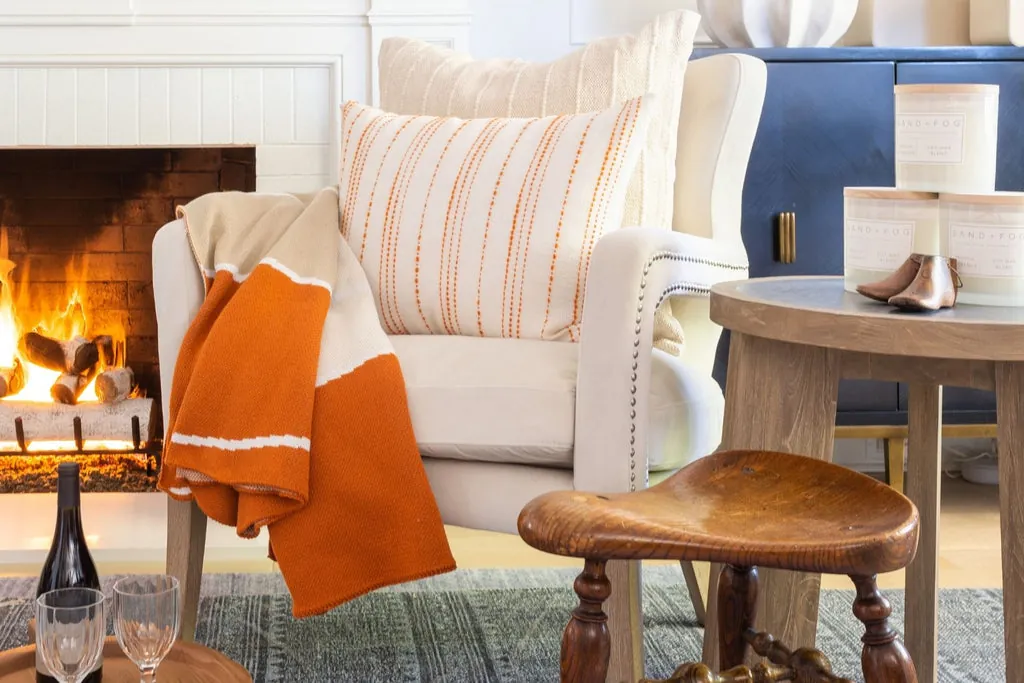
Once that first zone is working, live with it for a few nights. You may find that one portable layer, a throw basket, or a better windbreak solves the next comfort issue. Adding a second heater should be a response to real use, not a reflex.
8. Combine heat with light, shade, and furniture
Heat works better when it is part of a full outdoor plan. The same seats that need warmth after sunset may need shade at lunch, a little light at dinner, and a surface for a drink in every season. Treating each need separately can lead to a crowded patio full of equipment. Considering them together keeps the room calmer and more useful.
Begin with the furniture that defines the gathering area, then add the layers in order of daily impact. Outdoor furnishings establish the layout. Outdoor lighting makes the route and table comfortable after dark. The patio shade guide can help you plan the daytime condition before a heater is placed beneath a cover or beside an umbrella.
When those pieces support one another, the patio does not feel decorated for a single season. It feels ready for a late breakfast, an easy lunch, a dinner that runs long, and the hour afterward when nobody wants to go back inside yet.
9. Test the layout on a real evening
Before treating the plan as finished, use the patio on a cool evening. Have someone sit in every intended chair. Serve a drink. Open the door. Pull out the dining chairs. Look at the heater from the kitchen, from the street side, and from the lounge. You are checking both comfort and ease.
- Feel the warmth: Is the main gathering area comfortable without the heater being uncomfortably close?
- Check the routes: Can everyone move freely around the seating and table?
- Look upward: Are the overhead condition and required clearances right for the exact unit?
- Check the view: Does the heater support the room without blocking a conversation or sightline?
- Notice the wind: Does the patio’s sheltered area become the natural place to gather?
Small adjustments matter. Moving a chair, rotating a lounge, shifting the dining table, or changing the intended comfort zone can improve the whole patio more than buying another piece of equipment. The goal is not maximum heat. It is a place people choose to stay.
Plan for longer evenings outside
Home Crush can help bring furnishings, lighting, warmth, and shade into one considered outdoor room. Explore outdoor heaters, visit the Heatsail collection, or work with the design team on a plan shaped around the way you gather.
Frequently asked questions
Where should a patio heater be placed?
Place an outdoor heater close enough to warm the seats people use most, but never in a path, beside a door swing, or where people will brush past it. The exact location depends on the heater type and its manufacturer instructions, especially the required clearance from ceilings, walls, umbrellas, fabric, and other combustible materials.
Can a patio heater go under a covered patio?
Some outdoor heaters are designed for covered settings, while others require open sky above them. Treat the installation guide for the exact model as the deciding document. A covered patio also needs thoughtful airflow, clear space above the unit, and a location that keeps heat away from curtains, cushions, and the main route through the room.
How many patio heaters do I need?
Start with the main gathering zone rather than trying to heat an entire yard. One well-placed heater can make a dining table or lounge more usable. Larger patios often work better with separate comfort zones than with several heaters aimed at the same open area.
Should a patio heater be next to the seating area?
A heater should support the seating area, not compete with it. Give it enough distance that people are comfortable, can get in and out of chairs easily, and can see one another without a heater blocking the view. Test the layout on a cool evening before treating the placement as final.
Related posts
Outdoor Living
Patio Lighting Ideas for Evenings Outside
A practical guide to layering patio light for dinner, conversation, safe movement, and an inviting after-dark glow.
Read article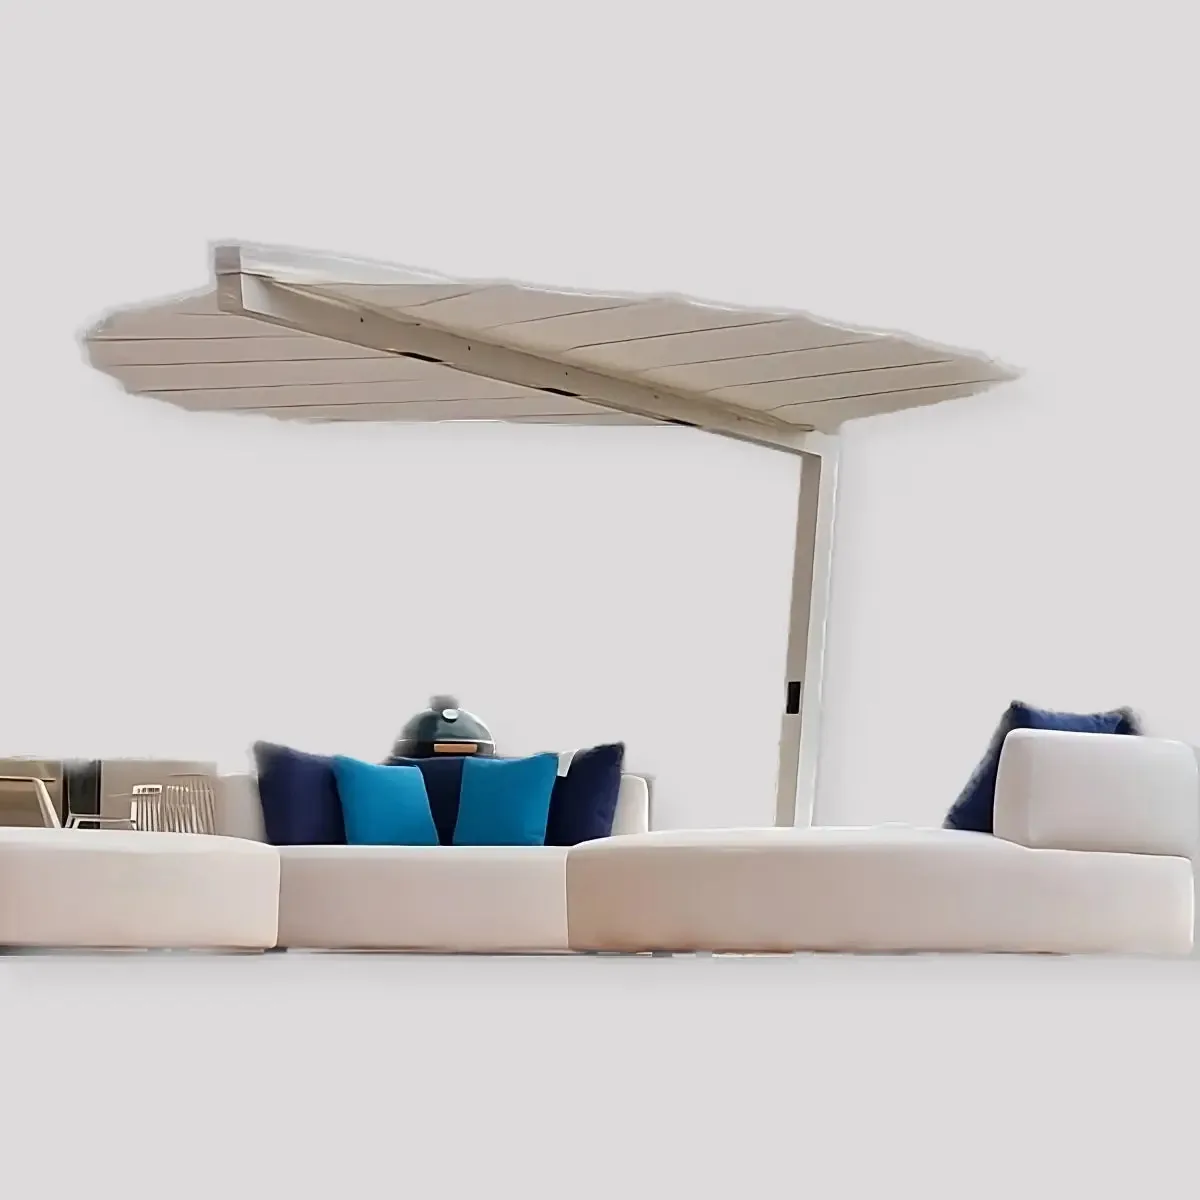
Outdoor Living
Patio Shade Ideas for a Cooler, Better-Looking Space
A practical guide to choosing patio shade that suits the sun, the structure, and the way you actually spend time outside.
Read article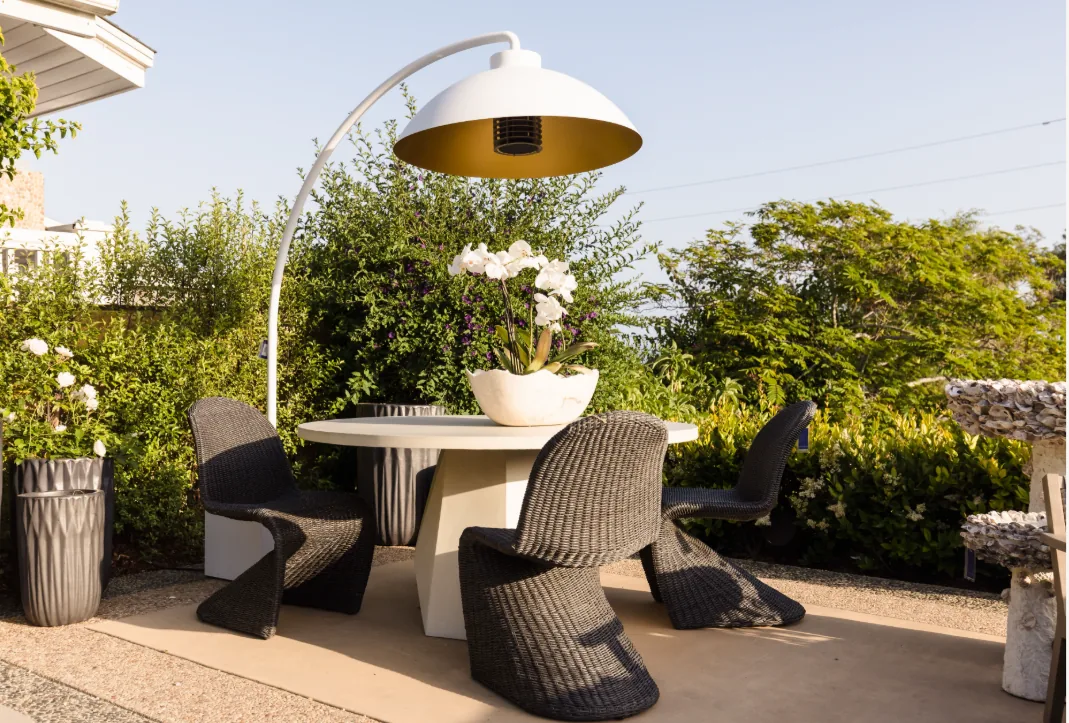
Outdoor Living
Outdoor Living Room Ideas That Feel Like Home
A designer-minded guide to planning an outdoor room with comfort, flow, shade, light, and a point of view.
Read article