
An infrared patio heater is most convincing when it makes a favorite table or lounge feel welcoming after sunset, without filling the patio with equipment. It is not there to heat every edge of the yard. It is there to support the part of the outdoor room where people actually stay.
That is a useful distinction because radiant heat is directional. A good result depends on the seats, the overhead condition, the wind, the route through the space, and the exact heater. Begin with the gathering you want to extend, then use the manufacturer’s installation instructions and qualified local help to determine what the space can safely support.
For a patio that serves several moments of the day, this kind of planning has a quiet payoff. The same table can feel protected at breakfast, comfortable for a late dinner, and easy to move around when friends stay for one more conversation. Instead of adding a heater as an afterthought, you can make it part of a room that already has a rhythm, and that works gracefully through changing weather.
What infrared heat does differently
Infrared heat travels toward people and surfaces rather than trying to warm a large volume of outdoor air. In a real patio, that can make it a natural fit for a dining table, two lounge chairs, or a conversation area with clear boundaries. The result is most satisfying when the heater has a defined job and a clear line to the seats it is meant to support.
The U.S. Department of Energy’s overview of radiant heating explains the basic principle: radiant systems deliver heat directly to people and objects. Outdoors, the practical takeaway is simple. A heater can feel effective in a well-planned zone while a much larger, windier area beside it remains cool.
This is why a good outdoor plan starts with use, not square footage. Notice where dinner runs long, where someone reaches for a blanket, and where a cool breeze changes the mood first. Those observations are more useful than treating the full patio as a single number to heat.
It also helps to think about the direction people face. At a dining table, guests are seated around several sides. At a lounge, people may be turned toward a fire feature, garden, or view. That orientation affects where the heater can contribute without becoming the visual center of the entire arrangement.
Begin with one real gathering zone
Choose the part of the patio that already earns the most use. It may be the end of the dining table nearest the garden, the sofa beneath a pergola, or a pair of chairs that catch the last light. Place the furniture first, then walk the room as you would on an actual evening. Pull back every chair, carry a tray from the house, and stand at the grill or gate. The best heating location is usually the one that feels present without becoming an obstacle.
A focused plan has another advantage: it keeps the outdoor room relaxed. When one table or lounge is genuinely comfortable, people naturally gather there. Trying to distribute heat evenly over a big, exposed surface can lead to more equipment, more visual clutter, and less satisfying warmth where it counts.
For a deeper look at that layout exercise, Home Crush’s patio heater placement guide walks through seating, circulation, wind, and the visual balance of the room. The heater should work around the life of the patio, not ask the patio to reorganize itself around the heater.
Choose a form that suits the structure
Infrared patio heat comes in several forms. The right choice is not a style contest. It is a decision about floor space, structure, power, flexibility, and the way the room changes between a quiet weeknight and a larger gathering.
- Freestanding: Helpful when furniture moves or when you want the option to shift the comfort zone over time.
- Wall-mounted: Worth considering along a solid edge where heat can serve a defined seating group without interrupting the central floor.
- Ceiling or pendant-mounted: A strong option when the structure and clearances support it, especially where keeping the floor open matters.
- Integrated outdoor comfort: Useful when the same outdoor room needs warmth, light, shade, or cooling to work together rather than competing as separate fixtures.
Do not decide from a catalog photo alone. Measure the lowest point overhead, note beams and fans, map doors and chair pull-back, and identify the routes people use. The pergola heater guide is useful if the heater will live beneath a pergola or other designed structure. It keeps the conversation centered on the actual room, not an abstract product category.
Keep wind and clearances in the plan
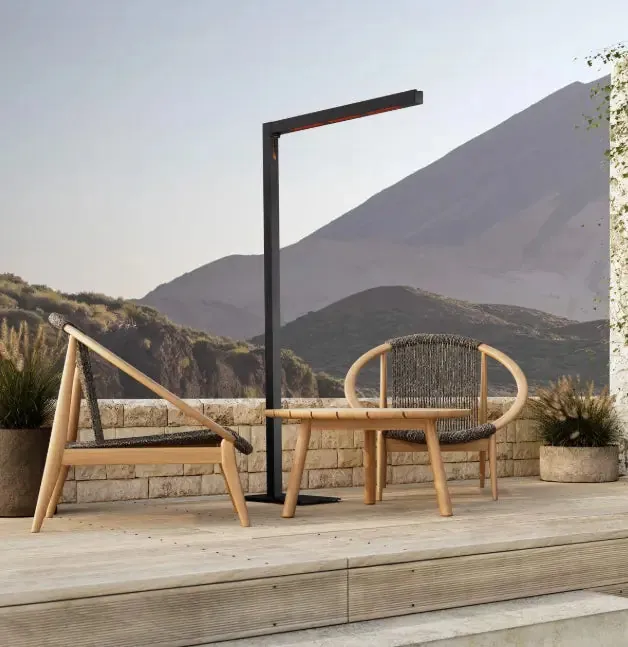
Wind changes outdoor comfort quickly. A tucked dining corner may feel inviting with one considered heat source, while a wide terrace exposed to a cross-breeze may need a more protected gathering arrangement before adding another heater. Spend time outside on the kind of evening you want to improve. Notice where the breeze enters, which seats empty first, and whether a wall, planting edge, or screen already creates a calmer pocket.
Clearances are equally important, and they are never a generic rule of thumb. The model’s own documentation determines mounting height, distance from surrounding materials, suitability under a cover, electrical requirements, weather rating, and service access. The Consumer Product Safety Commission’s portable-heater guidance reinforces the basics: inspect cords and plugs, keep combustibles away, and avoid treating extension cords or power strips as a permanent power plan.
For a fixed project, let a qualified electrician or installer confirm the final conditions before the layout is locked in. That is not a detour from good design. It is how the beautiful choice remains practical once the table, lighting, and planting are in place.
Plan power before the finish
Many infrared patio heaters are electric, and their power needs vary. A portable model may be designed for a standard outlet, while a substantial fixed unit can require a dedicated circuit, specific voltage, and professional installation. The exact product information always decides the answer.
It is tempting to save this question for the end, after choosing a finish or fixture shape. In practice, power should be part of the first sketch. Note the likely electrical route, the controls you want, and whether different zones need to operate independently. That early clarity helps prevent a heater from becoming an expensive compromise in a room that was otherwise thoughtfully resolved.
If you are still comparing forms, the electric patio heater guide covers the broader buying decisions around power, mounting, and operating cost. This infrared guide is the companion question: how will the heat behave in the particular outdoor room you are creating?
Read output as a starting point, not a promise
It is reasonable to compare heater output, but a coverage claim cannot describe every patio. The same product will feel different above a compact dining table and beside a deep, open lounge. Mounting height, direction, ceiling height, open sides, wind, furniture placement, and the distance from the heater to the people all shape the experience.
Use the manufacturer’s coverage guidance to begin a shortlist, then test it against your own plan. Mark the chairs that need comfort most. Check the location from a seated position, not only from above. Notice whether the heater would warm the intended people or mostly the circulation route beside them. If the answer is unclear, a simple sketch with the table, seating, doors, beams, and likely heater location is more useful than adding another model to the comparison.
It is also worth separating comfort from maximum temperature. On a cool evening, a defined dining or lounge zone can feel generous without making every nearby surface equally warm. That focused approach lets the landscape, view, and quieter edges of the patio remain part of the room instead of turning the whole space into a technical problem to solve.
Consider warmth as one layer of the room
The best outdoor rooms are not assembled as a list of equipment. Furniture defines the gathering. Lighting makes faces, food, and routes easy to enjoy after dark. Shade changes the middle of the day. Heat supports the cool edge of evening. When these layers are considered together, the patio feels calm and useful in more than one season.
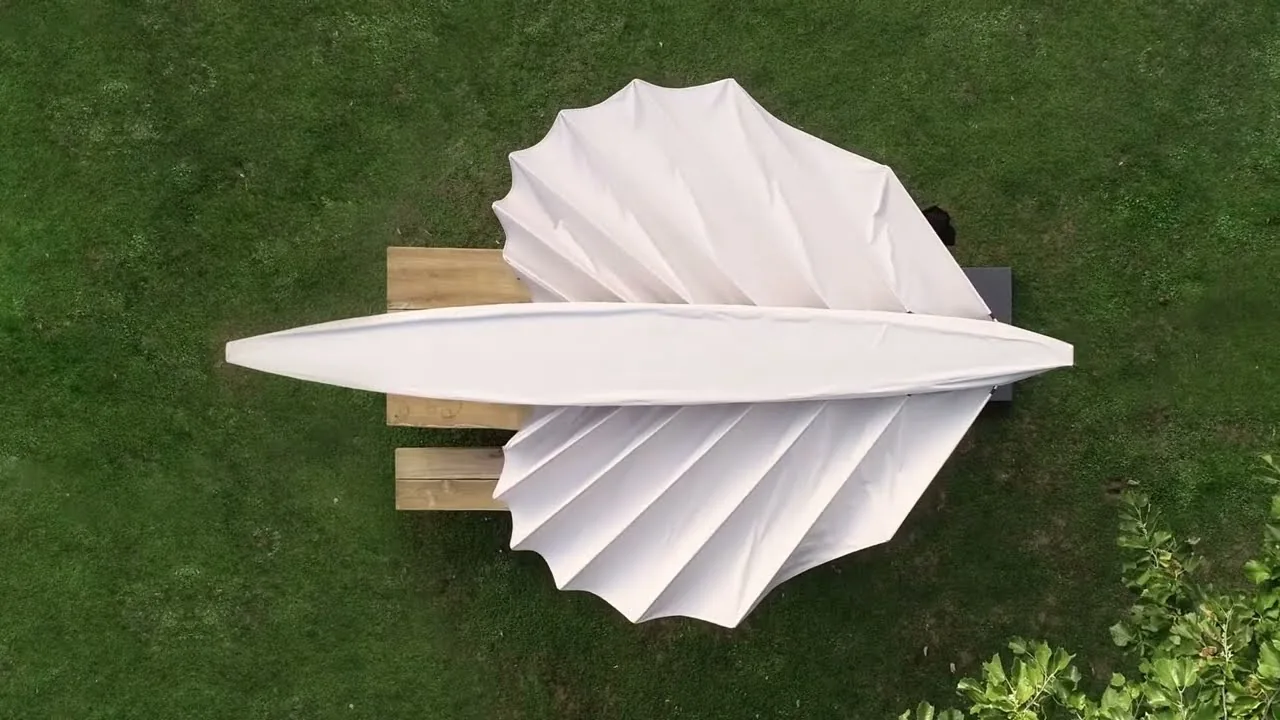
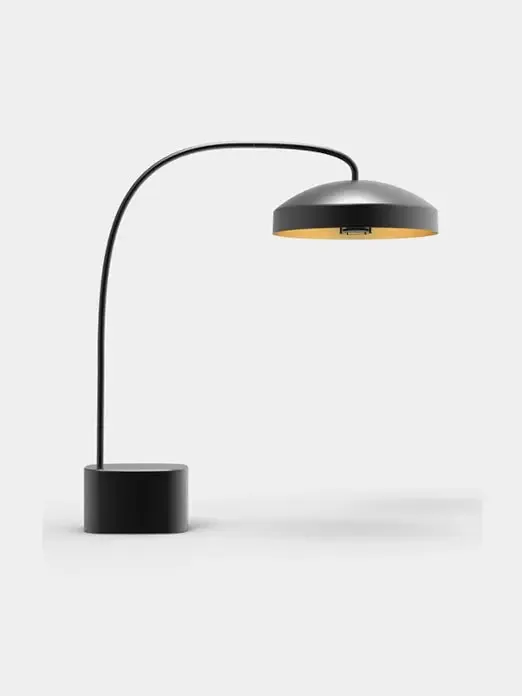
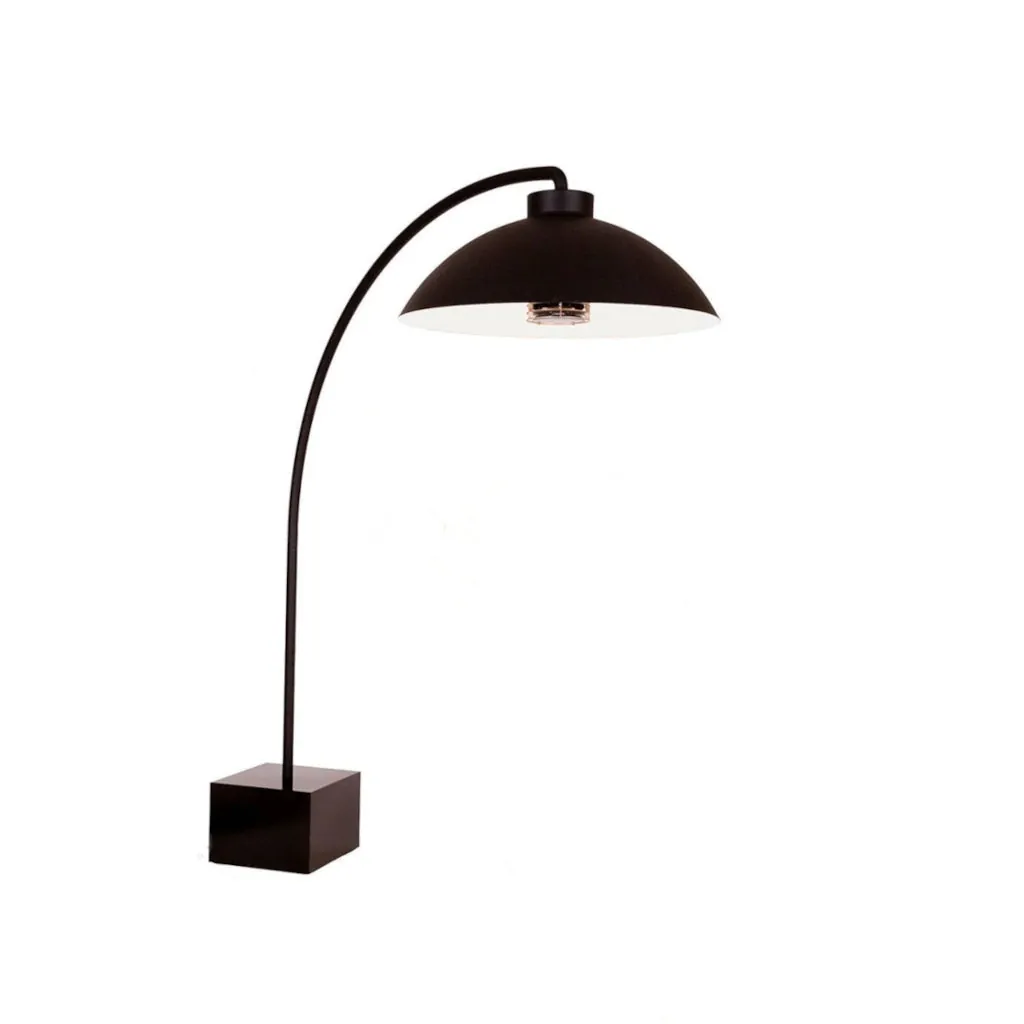
This is where Home Crush’s Heatsail collection offers a different kind of option. DISC and DOME pair radiant warmth with dimmable light, helping one fixture contribute to both comfort and atmosphere. LEAF adds shade and misting to the conversation for a more complete outdoor setting. The right choice still depends on the structure and installation conditions, but the design advantage is clear: fewer competing objects in the view.
For a covered space, read the covered patio heater guide before assuming an overhead location will work. Once the conditions are established, the goal is not maximum heat. It is the right level of comfort around the table or lounge that makes people happy to stay outside a little longer.
Make the outdoor room work after sunset
Bring Home Crush a few photos, rough measurements, and a note about the seats you want to keep comfortable. Explore outdoor patio heaters, compare the Heatsail collection, or connect with the design team to shape the larger outdoor room around the way you gather.
Frequently asked questions
What is an infrared patio heater?
An infrared patio heater produces radiant warmth that travels from the heater toward the people and surfaces in its path. That makes it most useful when the heater has a clear relationship to a dining table, lounge, or other defined gathering area.
Do infrared patio heaters work in wind?
They can be useful in an outdoor room, but wind, open sides, mounting height, and the exact model all affect the result. A sheltered seating area is generally easier to make comfortable than a broad, exposed patio.
Are infrared patio heaters electric?
Many infrared patio heaters are electric, though the term infrared describes the type of heat rather than a single fuel source. Check the exact product documentation for its power requirements, weather rating, installation conditions, and clearances.
Where should an infrared patio heater be placed?
Start with the chairs people use most and keep the path through the outdoor room clear. The model’s installation instructions set the required clearances and mounting conditions, so they should guide the final position.
Related posts
Outdoor living
How to Choose an Electric Patio Heater
A practical guide to choosing electric outdoor heat around the seats you use, the structure you have, and the evenings you want to extend.
Read article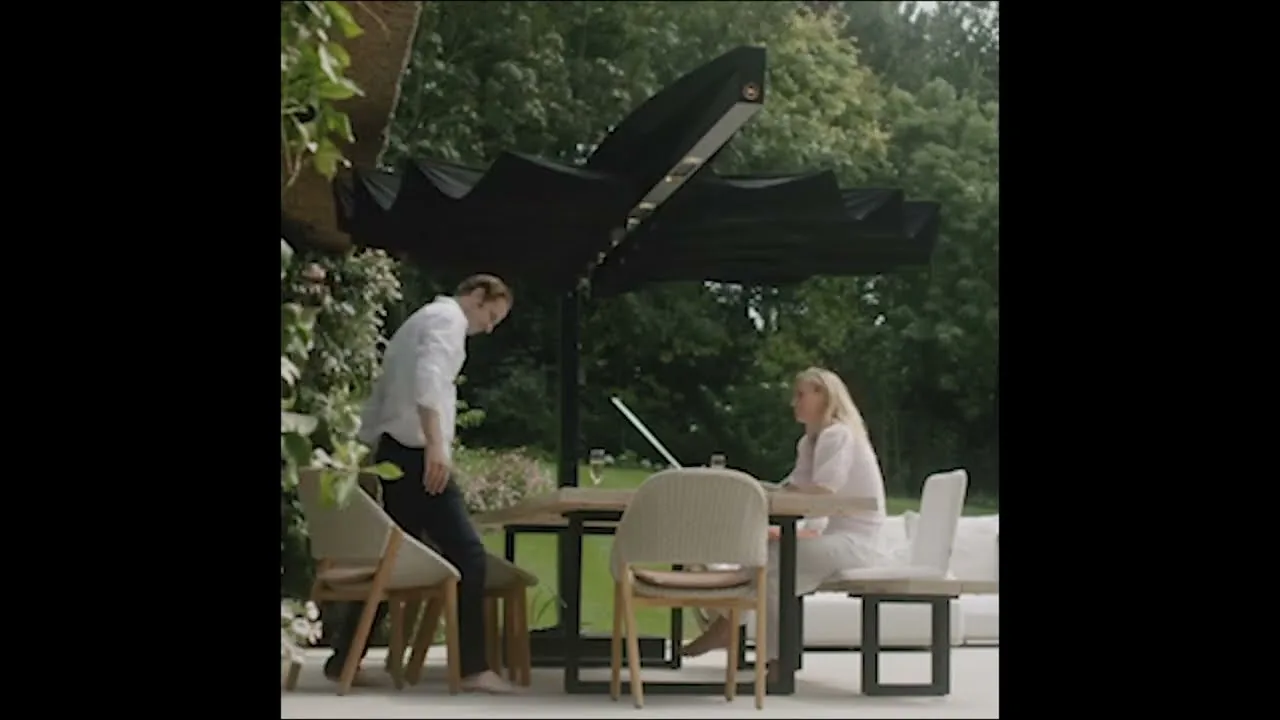
Outdoor living
Can You Use a Patio Heater Under a Covered Patio?
What to check before adding warmth beneath a pergola, porch roof, or covered terrace, from clearances to the right heater for the room.
Read articleOutdoor living
Patio Heater Placement for a Better Outdoor Room
A practical guide to placing outdoor heat where people gather, while keeping the patio comfortable, clear, and safe.
Read article